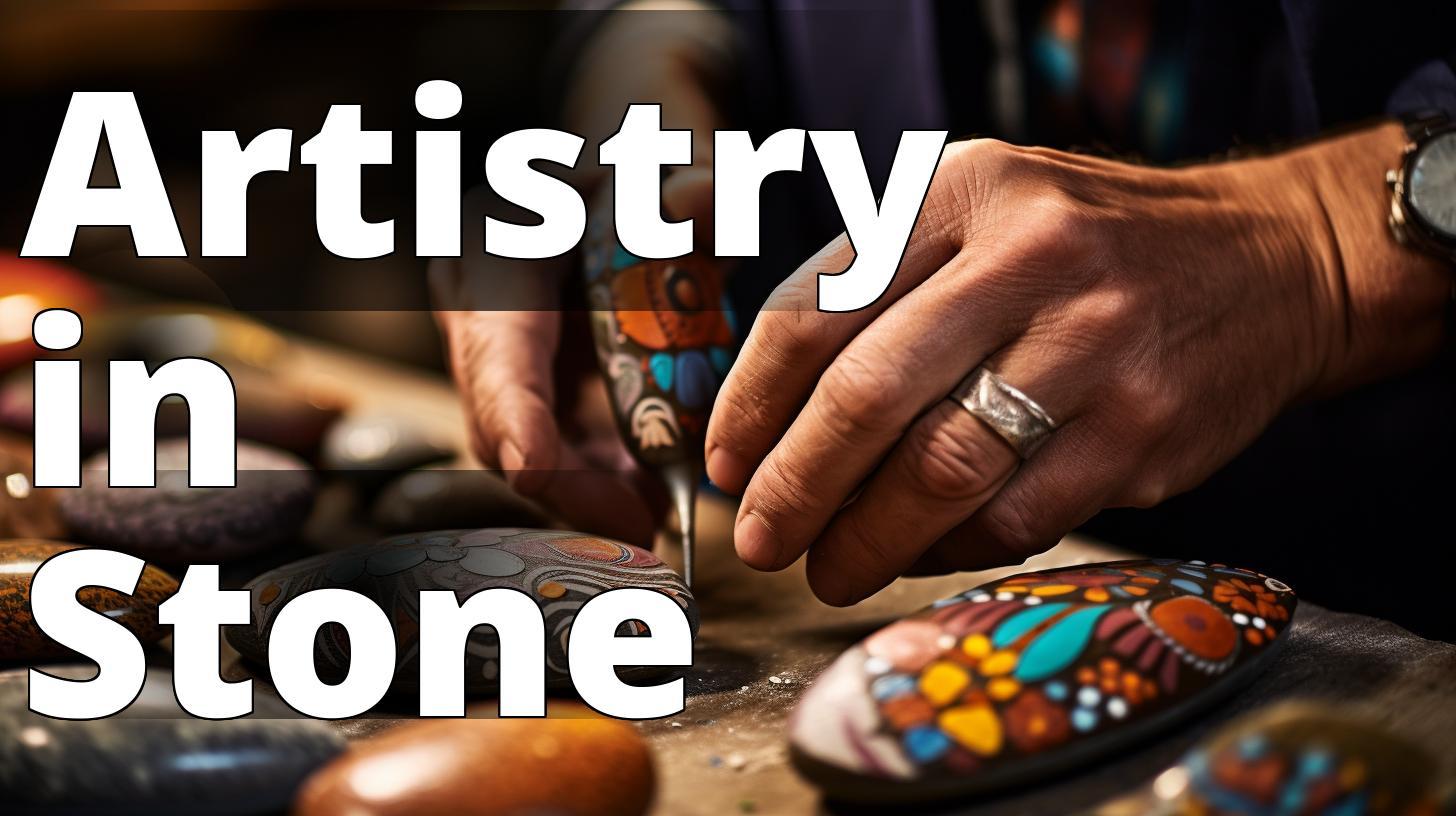
Are you interested in transforming rough stones into beautiful designs that showcase their natural colors and patterns? If so, hand-polished rock art might be the perfect hobby for you. This ancient art form involves using a variety of tools and techniques to carve and polish designs into rocks. In this comprehensive guide, we will explore everything you need to know to get started with hand-polished rock art. From selecting the right rocks to polishing and finishing your designs, we will cover all the essential steps and provide valuable tips and product recommendations. Let’s dive in and discover the joys of hand-polished rock art!
What is Hand-Polished Rock Art?
Hand-polished rock art is an art form that dates back to ancient civilizations who used polished stones for practical and decorative purposes. Today, it is a popular hobby enjoyed by people of all ages and skill levels. This art form involves using a combination of carving and polishing techniques to create intricate designs on rocks. The designs can range from simple geometric shapes to intricate patterns and landscapes. The key to successful hand-polished rock art is to choose the right type of rock, plan your design carefully, and use the right tools and techniques to create a professional-looking finish.
Hand-Polished Rock Art: Tips and Techniques
- Hand-polished rock art involves carving and polishing rocks into beautiful designs.
- Suitable rocks, design planning, essential tools, carving, polishing and finishing touches are all covered in the guide.
- The article provides tips and techniques for creating hand-polished rock art, displayed art ideas, and FAQs.
Choosing Your Rocks
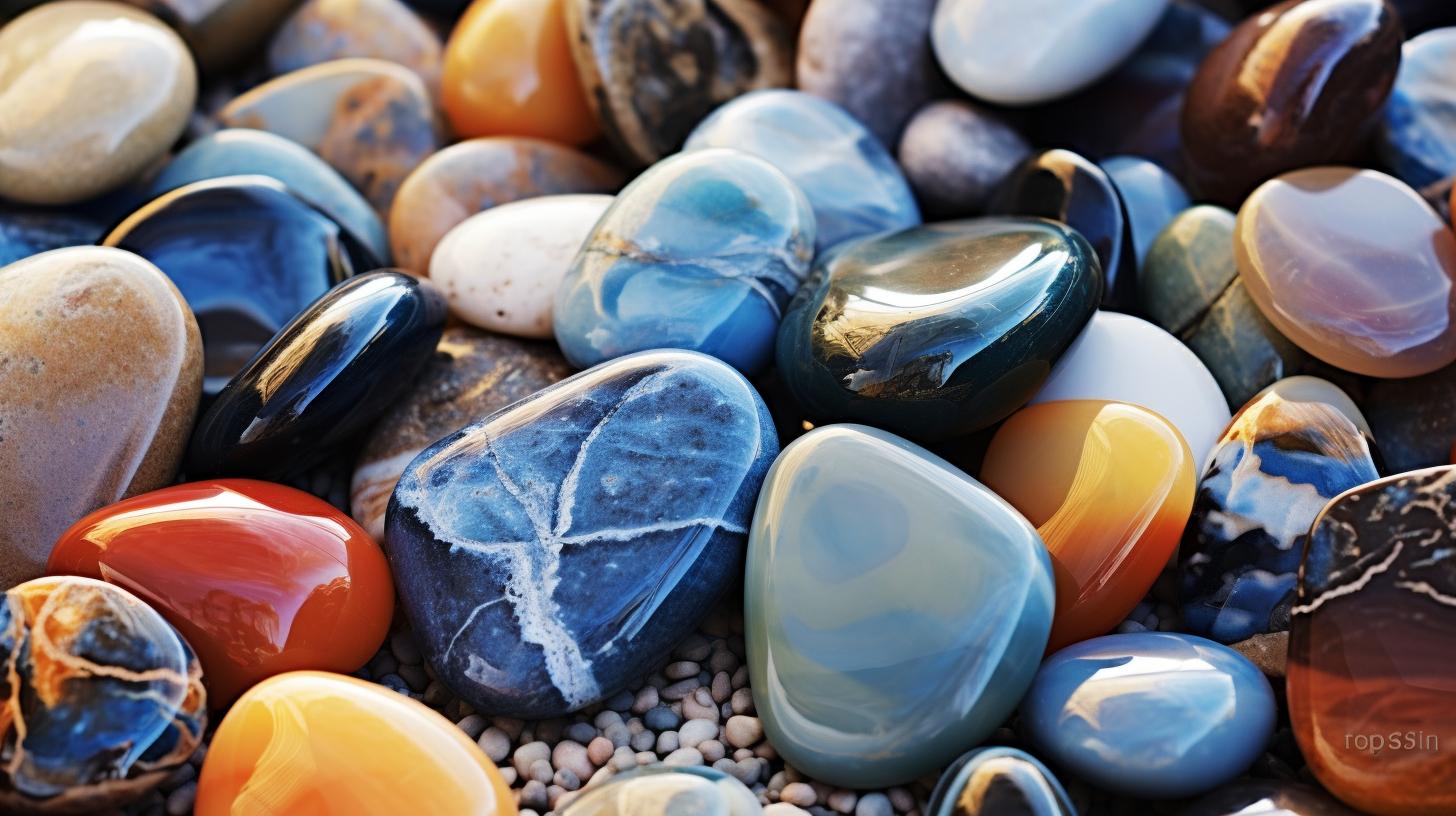
The first step in hand-polished rock art is to choose the right type of rock for your design. Not all rocks are suitable for carving and polishing, so it’s essential to select the right type of rock based on your design and skill level. Some of the best rocks for hand-polished rock art include agate, jasper, and quartz.
When selecting your rocks, it’s essential to consider their shape and size. Ideally, you want to choose rocks that are smooth and flat on at least one side, making it easier to carve and polish your design. It’s also important to consider the size of your rock, as larger rocks may be more challenging to work with if you are a beginner.
Once you have chosen your rocks, it’s essential to clean and prepare them before starting your design. This involves removing any dirt or debris and washing them with soap and water. You can also use a wire brush or sandpaper to remove any rough spots or blemishes.
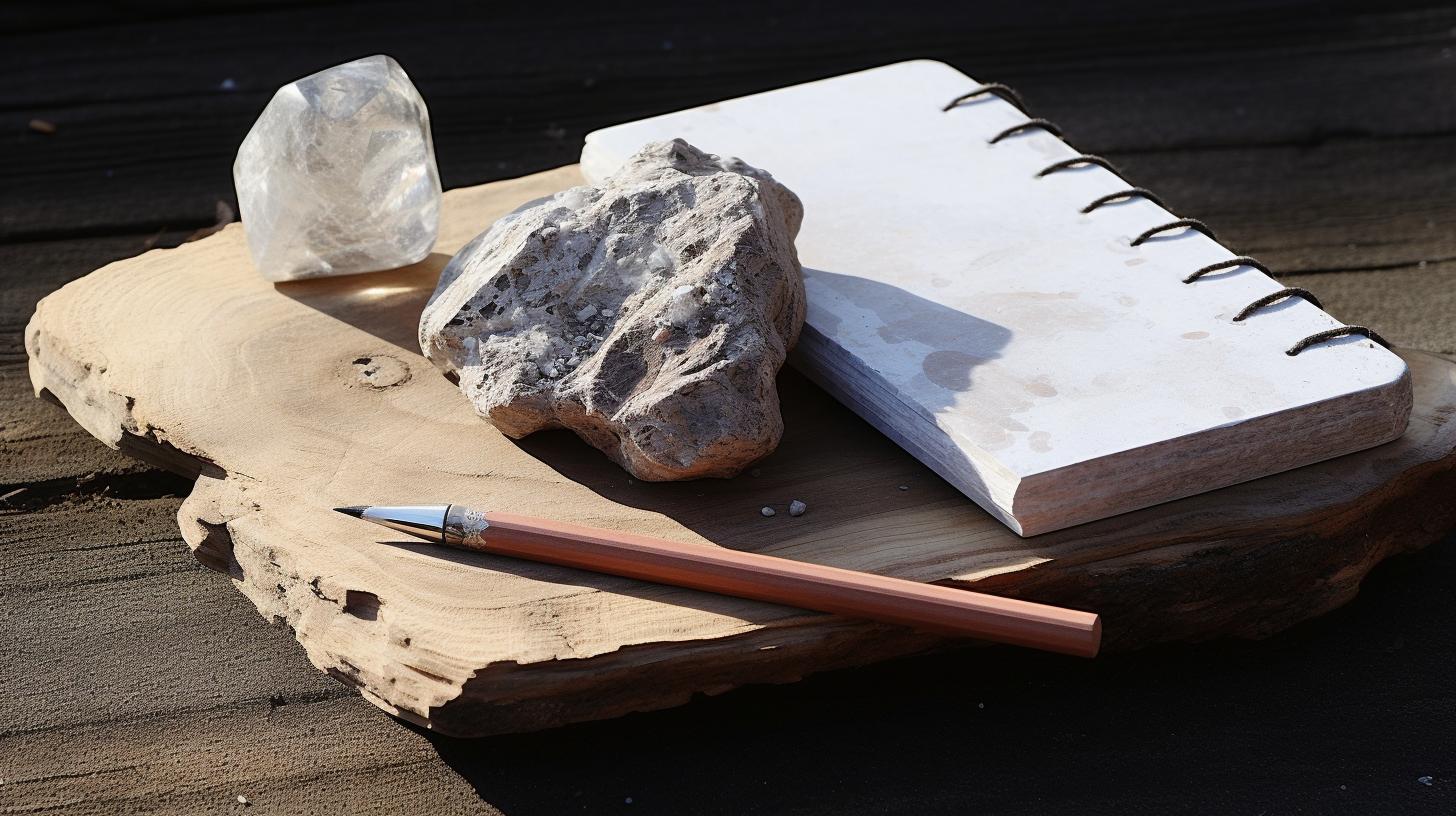
Planning Your Design
The next step in hand-polished rock art is to plan your design carefully. Whether you are creating a simple geometric shape or an intricate landscape, it’s essential to sketch your design on the rock before you start carving. This will help you visualize your design and ensure that you have a clear idea of what you want to create.
When choosing your design, it’s important to consider the tools you will need to create it. Some designs may require more advanced tools, such as diamond burrs or a Dremel drill, while others may only require basic carving tools.
Gathering Your Tools
Once you have planned your design, it’s time to gather your tools. The essential tools for hand-polished rock art include carving tools, polishing tools, and safety equipment such as goggles and gloves.
When choosing your tools, it’s important to select high-quality tools that will last for a long time. Some of the best places to find high-quality tools and materials for hand-polished rock art include lapidary supply stores and online retailers.
It’s also important to maintain and care for your tools properly to ensure they last as long as possible. This includes sharpening your carving tools regularly and cleaning and oiling your polishing tools after each use.

Carving Your Design
Once you have gathered your tools, it’s time to start carving your design. The most popular tools for carving designs into rocks include Dremel drills and diamond burrs. These tools allow you to create intricate designs and add texture and detail to your rock.
When carving your design, it’s important to start with larger shapes and work your way down to finer details. This will help you get a better sense of your design and ensure that you don’t accidentally remove too much material.
If you are a beginner, it’s important to practice carving on a few rocks before starting your final design. This will help you get a feel for your tools and develop your carving skills.

Polishing Your Design
Once you have carved your design, it’s time to polish your rock to achieve a smooth and shiny finish. There are several methods for polishing rocks, including using a tumbler, sandpaper, or a polishing cloth.
For hand-polished rock art, the most popular method for polishing rocks is using a polishing cloth. This involves rubbing your rock with a cloth that has been treated with polishing compound to remove any rough spots and add shine to your design.
When polishing your rock, it’s important to take your time and be patient. It may take several rounds of polishing to achieve the desired finish, but the end result will be worth the effort.
Finishing Touches
Once you have polished your rock, it’s time to add any finishing touches to your design. This may include adding color to your design using paints or dyes or etching or engraving your design to add texture and depth.
It’s also important to seal and protect your finished design to ensure that it lasts for a long time. This can be done using a clear sealer or wax, which will help protect your design from scratches and other damage.
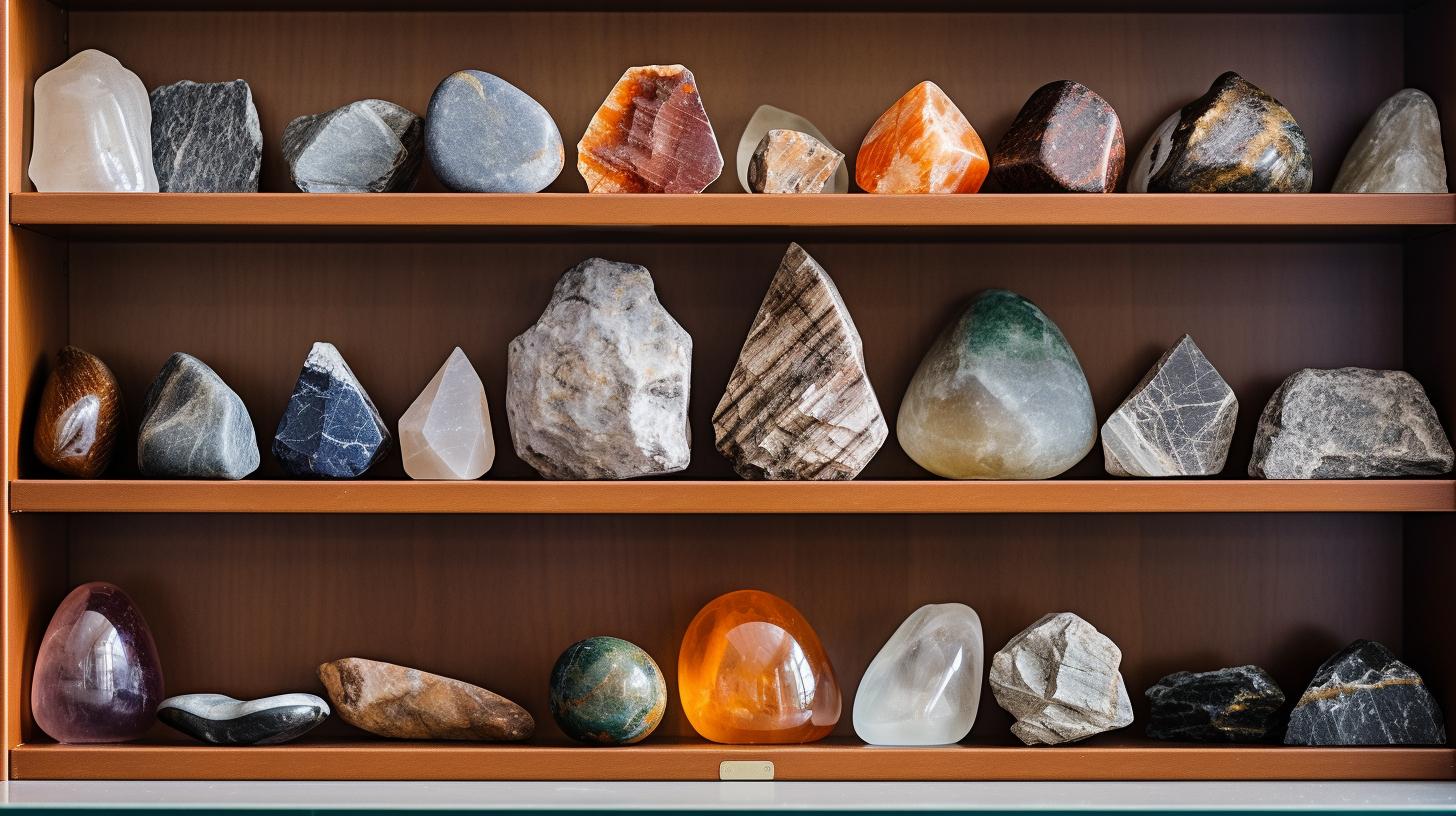
Displaying Your Art
Once you have finished your hand-polished rock art, it’s time to display it for all to see. There are many ways to display your art, including framing it, using it as a paperweight, or turning it into a piece of jewelry.
If you want to turn your art into a piece of jewelry, you will need to purchase some additional supplies such as earring hooks or necklace chains. This can be a fun and rewarding way to showcase your art and make it wearable.
| Question | Answer |
|---|---|
| What types of rocks are best for hand-polished rock art? | Some of the best rocks for hand-polished rock art include agate, jasper, and quartz. |
| What tools do I need for hand-polished rock art? | The essential tools for hand-polished rock art include carving tools, polishing tools, and safety equipment such as goggles and gloves. |
| How do I polish my rock? | The most popular method for polishing rocks for hand-polished rock art is using a polishing cloth. |
Personal Story: Finding Inspiration in Nature
As a child, I spent countless hours exploring the rocky shores of Lake Michigan. I was always drawn to the unique shapes and patterns of the rocks, and loved imagining the stories behind each one. It wasn’t until years later that I discovered the art of hand-polished rock art, and realized that I could turn my childhood fascination into a creative outlet.
One summer, I decided to take on a particularly challenging project – a large rock with a jagged, irregular shape. I had a rough idea of the design I wanted to create, but struggled to find the right tools to bring my vision to life. After some research and a bit of trial and error, I settled on a set of diamond burrs that allowed me to carve the intricate details I had imagined.
As I worked on my design, I found myself getting lost in the process and forgetting about the world around me. It was a meditative experience, and I felt a sense of connection to the natural world that I hadn’t felt in years. When I finally finished my piece, I was amazed at how much it resembled the rocky shores of my childhood – a reminder that inspiration can be found in even the most unlikely places.
Frequently Asked Questions
Q: What types of rocks are best for hand-polished rock art?
A: Some of the best rocks for hand-polished rock art include agate, jasper, and quartz.
Q: What tools do I need for hand-polished rock art?
A: The essential tools for hand-polished rock art include carving tools, polishing tools, and safety equipment such as goggles and gloves.
Q: How do I polish my rock?
A: The most popular method for polishing rocks for hand-polished rock art is using a polishing cloth.
Conclusion
Hand-polished rock art is a rewarding and satisfying project that can be enjoyed by lapidary enthusiasts of all skill levels. With the right tools, materials, and techniques, you can create beautiful designs that showcase the natural beauty of rocks. Whether you are a beginner or an experienced lapidary artist, we hope this comprehensive guide has provided you with valuable information and inspiration to start your own hand-polished rock art project. Remember to take your time, be patient, and above all, have fun!
References:
– /beginners-guide/how-to-polish-rocks/
– /tools-and-supplies/rock-polishing-compounds/